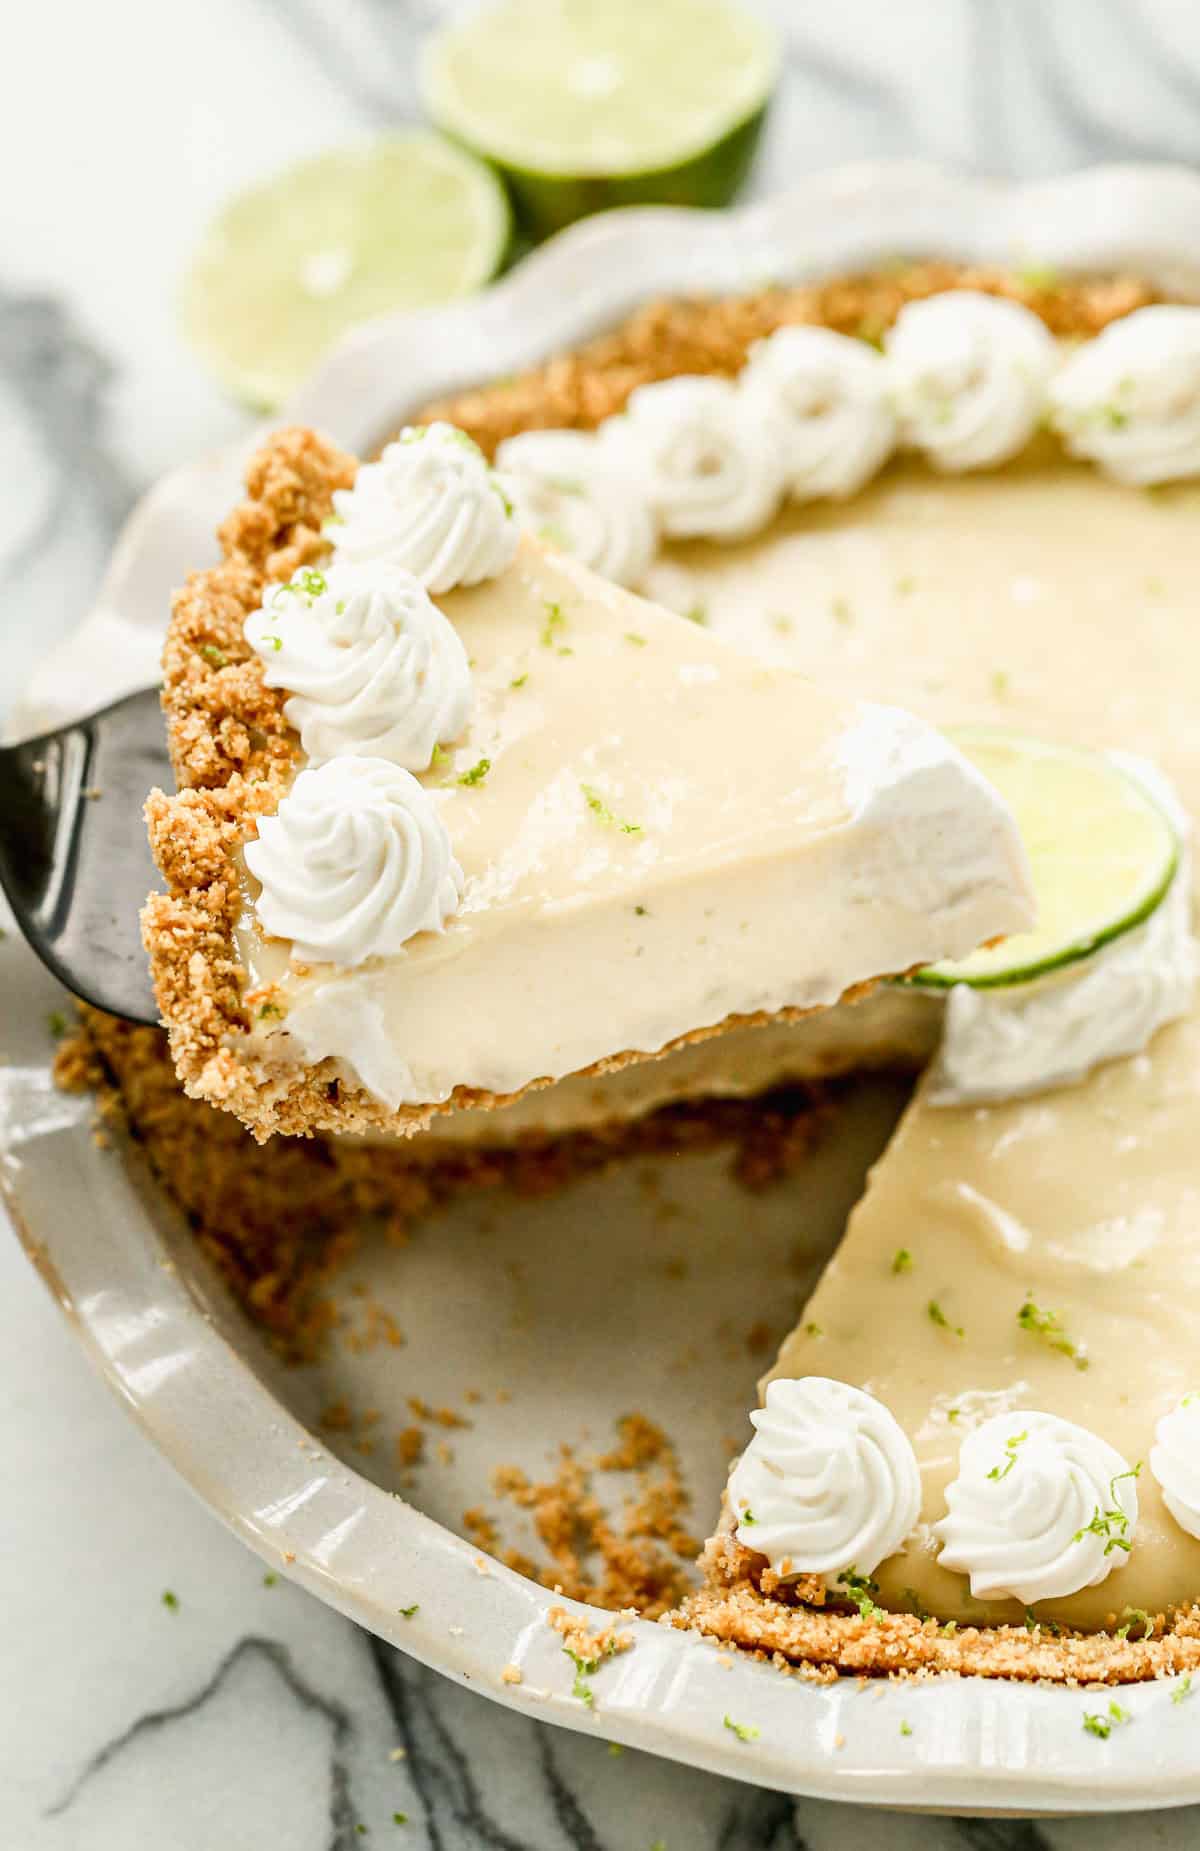
There's something truly magical about a slice of homemade key lime pie. One bite transports you to the sun-drenched Florida Keys, with its perfect balance of tangy citrus, creamy sweetness, and a buttery, crumbly crust. For many, this iconic dessert isn't just a treat; it's a culinary experience that leaves a lasting impression. Whether you've savored it at a quaint seaside restaurant or are dreaming of making your own, the allure of a perfectly crafted key lime pie is undeniable. It's a dessert that consistently steals the show, even from formidable contenders like triple-layer chocolate cake, proving its universal appeal.
The Enchanting History of Key Lime Pie
The story of key lime pie is as fascinating as its flavor. While often synonymous with the Sunshine State, its precise origins are a delightful blend of legend and historical discovery. Many believe this refreshing pie was born in the Florida Keys in the late 1800s, a time when fresh milk was a luxury due to the lack of refrigeration. This scarcity led to the widespread use of canned sweetened condensed milk, which became a foundational ingredient for this incredibly simple dessert.
Intriguingly, research suggests that a precursor to the modern key lime pie might have originated in New York City, featuring lemons and condensed milk. It was the resourceful bakers in Florida who, with an abundance of local Key limes, ingeniously swapped the lemons, giving birth to the beloved Florida favorite we know today. This rich history highlights the adaptability and creativity that often shape our most cherished recipes. To delve deeper into its captivating past, read more about Unraveling Key Lime Pie's Origins: History & Iconic Flavor.
From No-Bake Wonder to Baked Perfection
Perhaps one of the most surprising facts about traditional key lime pie is its original preparation method: it was a no-bake dessert! The chemical reaction between the acidic key lime juice, egg yolks, and sweetened condensed milk caused the mixture to thicken on its own, a natural curdling process where the acid denatures the proteins in the yolks and milk. This fascinating science allowed for a delicious pie even without an oven.
However, modern versions, including most recipes today, call for baking the pie. This shift largely came about due to concerns over consuming raw eggs. Baking not only addresses these safety aspects but also contributes to a superior texture, creating a filling that sets beautifully and is less prone to being "droopy" than its unbaked counterpart. This evolution has led to the silky, firm, and wonderfully consistent filling that characterizes the best homemade key lime pies. Discover more about this transformation in From No-Bake to Baked: The Evolution of Key Lime Pie Perfection.
Crafting Your Perfect Homemade Key Lime Pie: Essential Ingredients
One of the beauties of making key lime pie at home is its elegant simplicity. You'll be amazed at how a few core ingredients can combine to create such a profound flavor experience. We'll break down what you need for both the quintessential graham cracker crust and the heavenly filling.
For the Irresistible Graham Cracker Crust:
The perfect vessel for that tangy filling, a homemade graham cracker crust is incredibly easy and adds a delightful sweetness and nutty undertone.
- Graham Cracker Crumbs: You have options here! You can purchase pre-crushed graham cracker crumbs for convenience, or for a fresher flavor, crush whole graham crackers yourself. Aim for a fine, even crumb.
- Light Brown Sugar: This adds a touch of sweetness and a hint of caramel note that complements the graham crackers beautifully.
- Melted Butter: The magic binder! Melted butter holds the crumbs together, creating a firm, cohesive crust once chilled and baked.
- Pinch of Salt: Don't skip this! A small amount of salt enhances the flavors of the crust, preventing it from tasting flat and balancing the sweetness.
For the Heavenly Key Lime Filling:
This is where the magic happens – the iconic blend of sweet, tart, and creamy that defines a great key lime pie.
- Sweetened Condensed Milk: This is the backbone of the pie, providing both sweetness and the creamy, thick texture. You'll need one 14-ounce can. There's no substitute for this essential ingredient!
- Key Lime Juice: Fresh is always best! The distinct, aromatic tartness of fresh Key lime juice is unparalleled. Key limes are smaller and more intensely flavored than regular Persian limes. If fresh Key limes are unavailable, a high-quality bottled Key lime juice can be a suitable alternative, though it might lack some of the nuances of fresh.
- Key Lime Zest: The zest contains fragrant oils that amplify the citrus flavor without adding more acidity. Even if you use bottled juice, try to find fresh Key limes for their zest, or use regular lime zest as a last resort.
- Egg Yolks: These are crucial for richness and for thickening the pie filling, especially when baked. They contribute to that wonderfully smooth, custardy consistency.
Simple Steps to a Refreshing Dessert
Making homemade key lime pie isn't just easy; it's a rewarding process that culminates in a truly refreshing dessert. Here's a general outline of the steps:
- Prepare the Crust: Combine your graham cracker crumbs, brown sugar, melted butter, and salt. Press the mixture firmly into a pie dish, ensuring an even layer up the sides. For a sturdier crust, a quick pre-bake can be beneficial.
- Whisk the Filling: In a bowl, whisk together the sweetened condensed milk and egg yolks until well combined. Then, gradually incorporate the Key lime juice and zest. Watch as the mixture thickens slightly due to the acid's reaction!
- Pour and Bake: Pour the luscious filling into your prepared crust. Bake the pie until the center is just set, typically 15-20 minutes, being careful not to overbake, which can lead to cracks. The edges should be firm, but a slight wobble in the very center is perfect.
- Chill Thoroughly: This step is non-negotiable for a perfect key lime pie. Allow the pie to cool completely at room temperature, then transfer it to the refrigerator to chill for at least 4-6 hours, or ideally overnight. This chilling time is essential for the pie to fully set and for the flavors to meld beautifully.
Tips for Your Best Homemade Key Lime Pie
To elevate your homemade key lime pie from good to absolutely heavenly, consider these insider tips:
- Always Use Fresh Limes (If Possible): While bottled Key lime juice works, fresh Key limes offer a brighter, more complex flavor profile. Roll them firmly on a counter before juicing to maximize yield.
- Don't Over-Zest: When zesting, aim for only the bright green outer layer. The white pith underneath is bitter and can detract from your pie's flavor.
- Monitor Baking Closely: Overbaking is the enemy of a creamy key lime pie. It can cause cracks in the filling and a less desirable texture. Look for the edges to be set, with a slight jiggle in the center when gently shaken.
- Chill, Chill, Chill: We can't stress this enough! A properly chilled pie will slice cleanly, have the ideal firm-yet-creamy texture, and deliver the most refreshing experience.
- Consider Your Topping: While traditionally adorned with meringue, a simple dollop of freshly whipped cream is a popular modern choice and offers a lovely contrast to the tartness. Garnish with extra lime zest or thin lime slices for a beautiful presentation.
There’s an undeniable satisfaction that comes from presenting a beautiful, delicious homemade key lime pie to friends and family. Its vibrant, refreshing flavor makes it a perennial favorite for summer gatherings, holiday meals, or simply as a delightful treat any day of the year. With simple steps and a few quality ingredients, you can recreate this iconic Florida dessert in your own kitchen. Dive in and discover the pure joy of a perfectly balanced, sweet, and tart slice of heaven!
